Why this stage matters.
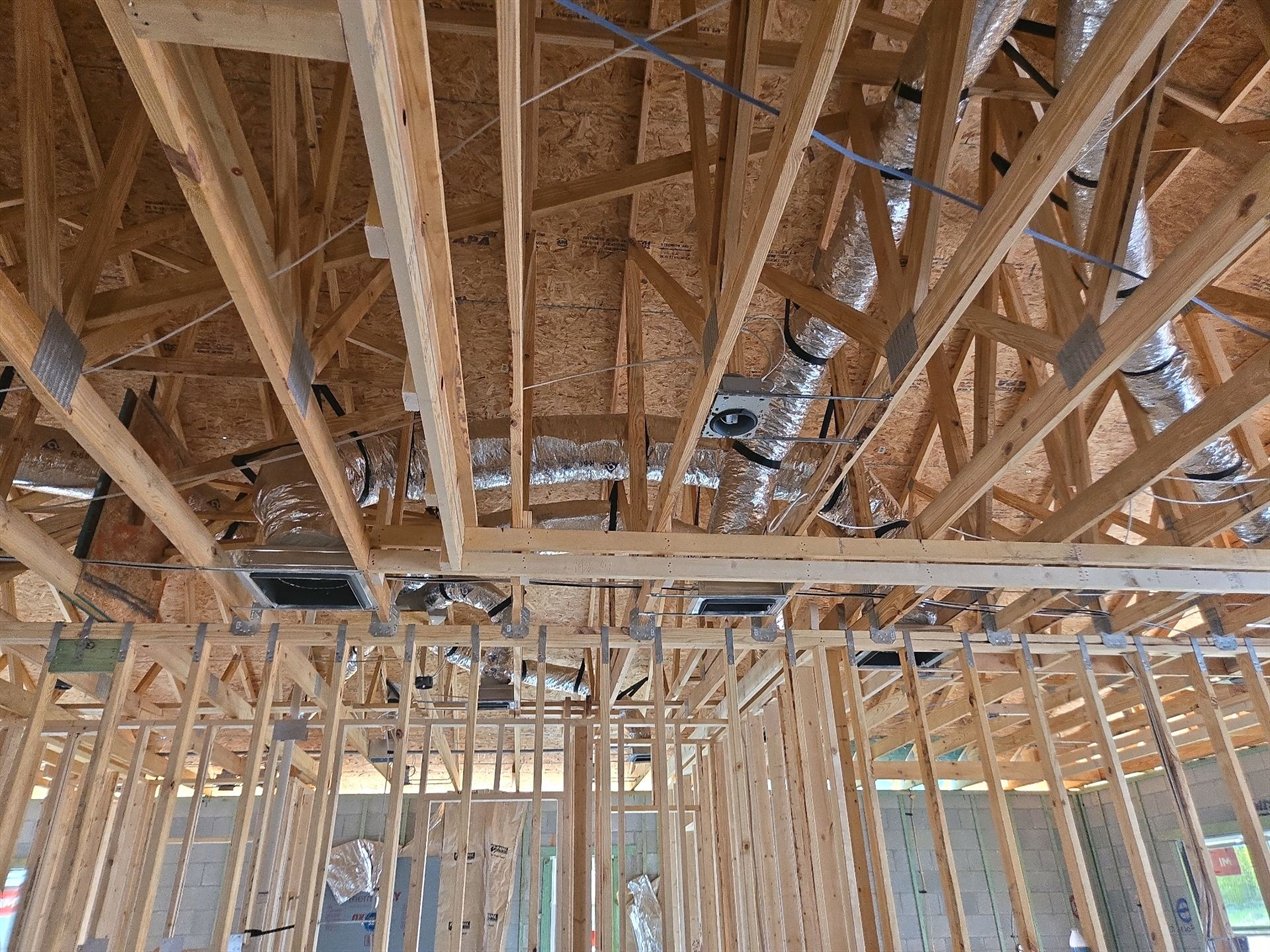
For a few weeks in the middle of a build, the house is an open book. The structure, the wiring, the water lines, the ductwork and the weather barrier are all hanging in the air where anyone can see them. Then insulation goes in, drywall goes up, and everything behind those walls becomes a guess for the rest of the home's life.
A missing strap, a notched stud, a duct that came loose at a boot, a window opening with the flashing tape stopped short of the corner: none of these are dramatic at this stage. A framer or a trade can correct most of them in an afternoon. The same items found later mean cutting into finished walls, or they simply never get found at all, and instead show up as a stain on a ceiling or a room that never cools.
This is also the stage where the house is compared against its own paperwork. Truss engineering, the strap schedule and the approved plans say what is supposed to be there. We read those against what was actually built.
What we look at
- Framing, studs, headers, bearing points and notching or drilling
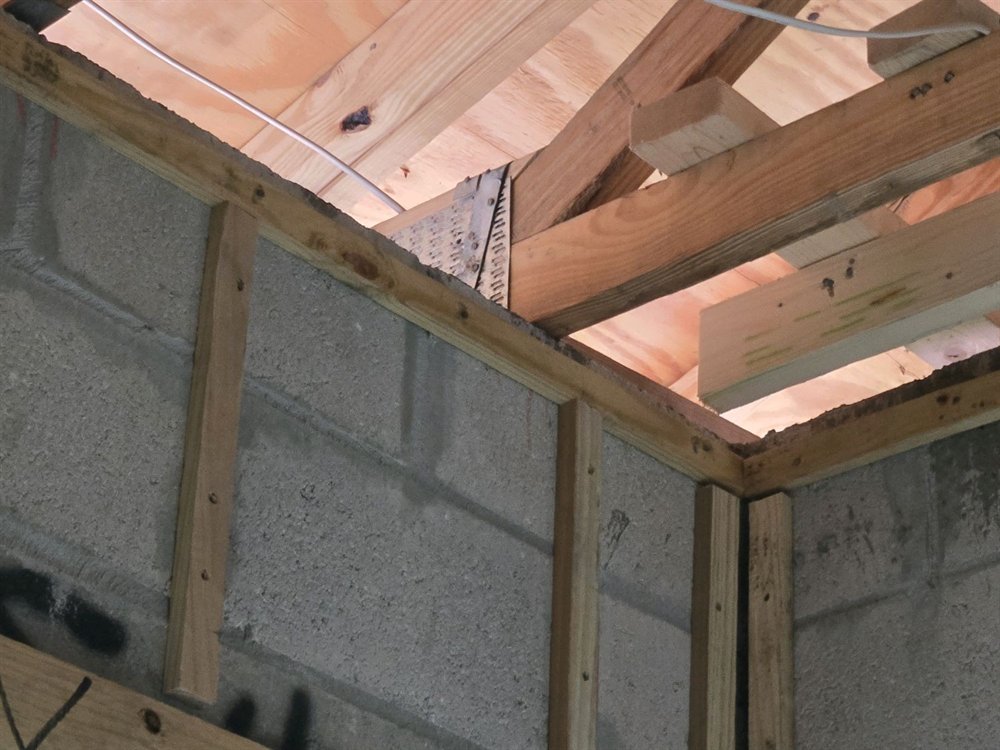
- Hurricane straps, hold-downs and connectors against the truss and plan schedule
- Temporary and permanent bracing, including gable-end bracing
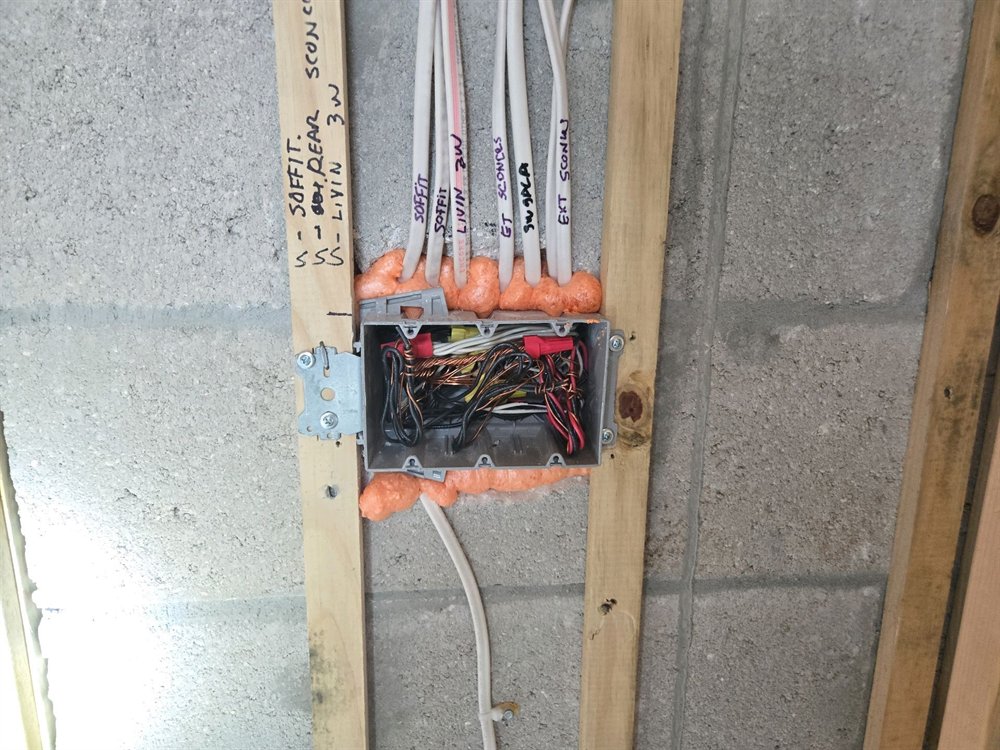
- Rough electrical, box placement, wire support and protection
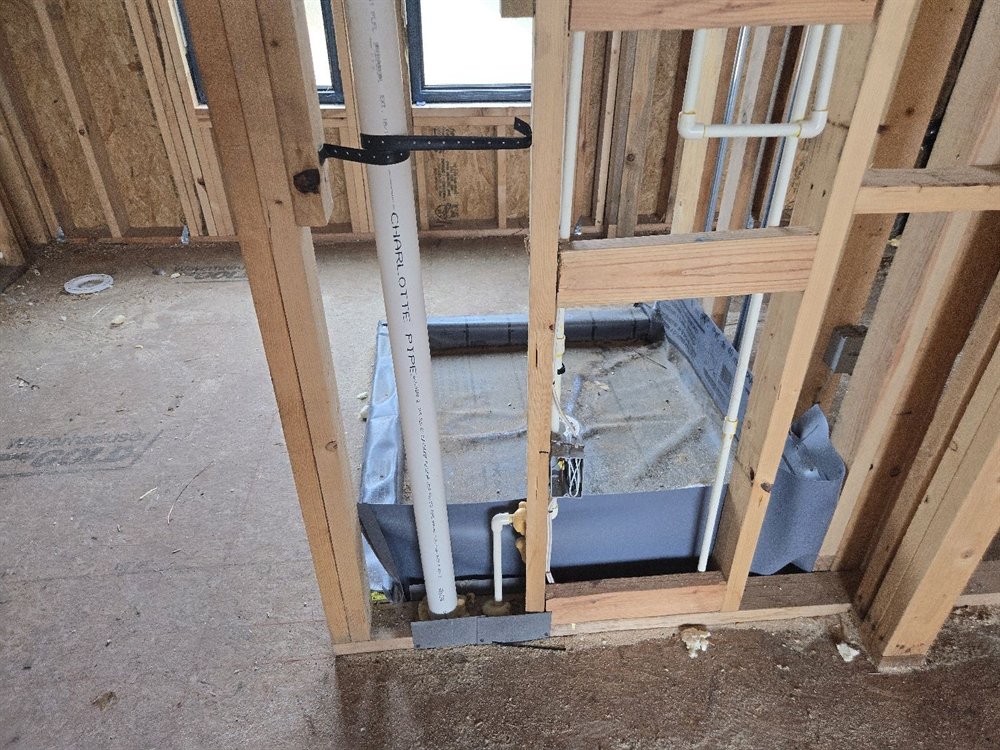
- Rough plumbing, supports, venting and drain slope where visible
- HVAC rough-in, duct runs, connections, support and insulation
- Window and door flashing at the openings: self-adhered tape or liquid-applied membrane, coverage, corners and bond to the block
- Weather barrier laps, seams and terminations on any frame walls
- Roof deck and sheathing nailing pattern and fastener depth
- Firestopping, draftstopping and nail plates at plumbing and wiring penetrations
360° imaging, so you can look inside your walls later
360° imaging is an optional add-on at this stage, not part of the standard inspection. When added, it captures every room as a walkable record of the open framing, wiring, plumbing and ductwork behind each wall, delivered with your report. Years from now, when you want to hang a heavy shelf, run a new circuit or find the line behind a leak, you can go back and see exactly what is in that wall rather than opening it to find out. What the imagery is good for after you move in.
When it happens
The visit is scheduled after rough-in inspections have passed and before the insulation crew arrives. That is usually a window of several days, and it moves with trade scheduling and weather. Tell us when your framing is topping out and stay in touch as rough-in wraps up, and we will coordinate the day directly with your builder's construction manager. The inspection typically takes 3 to 5 hours, depending on the size of the house.
What you receive
A PDF report within 24 hours, with a photograph and a location for every item and a plain-language note on why it matters. It is written so you can forward it to your builder without editing anything. We follow up with a call to walk through what is significant and what is routine, and you have a direct line to the inspector until the items are closed out.
Because even a new home deserves a second set of eyes.